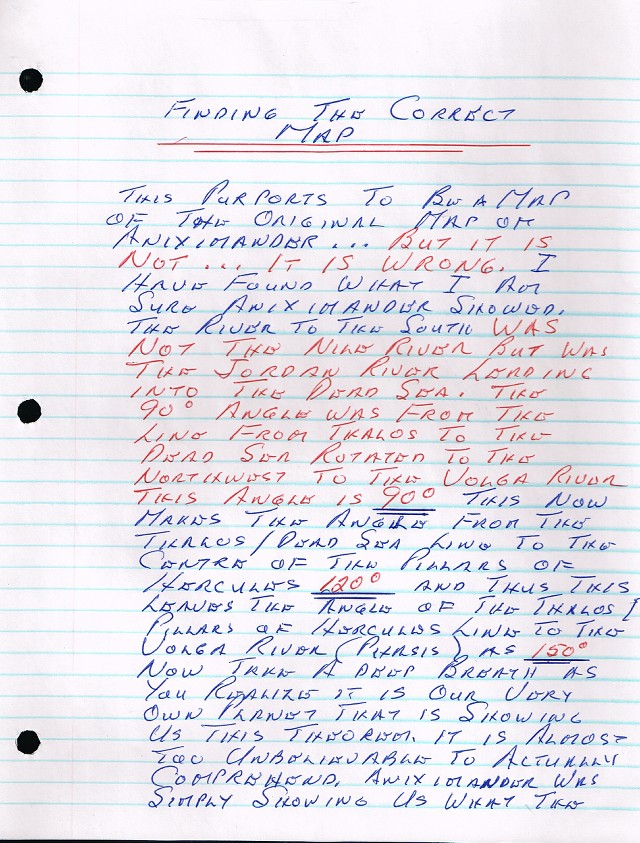
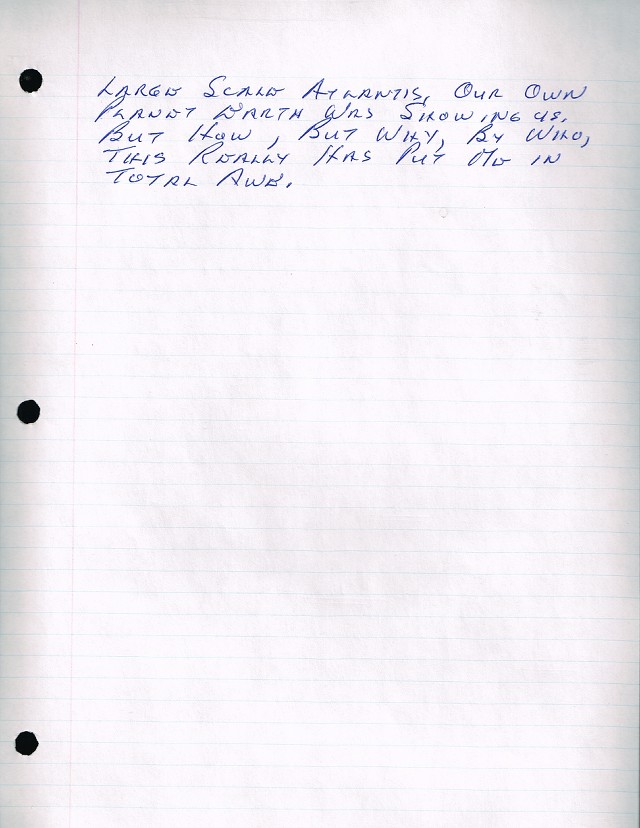
Part III: Finding the correct map May 22, 2020 10:35:47 GMT -5 Quote Select PostDeselect PostLink to PostMemberGive GiftBack to Top Post by Don Barone on May 22, 2020 10:35:47 GMT -5